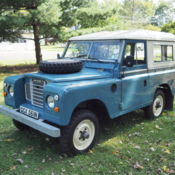
1962 Land Rover Series IIA Station Wagon

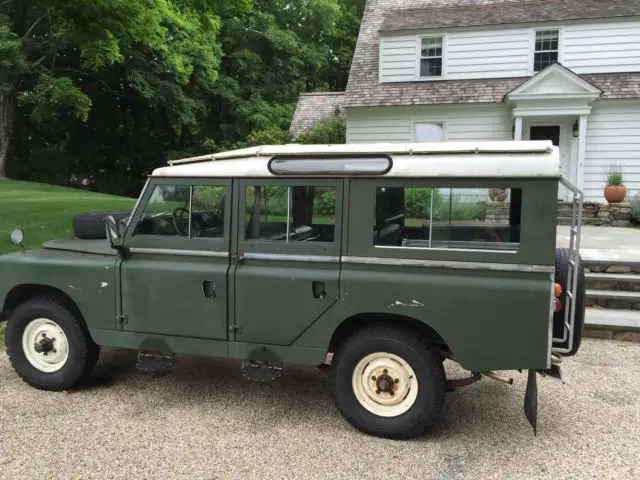
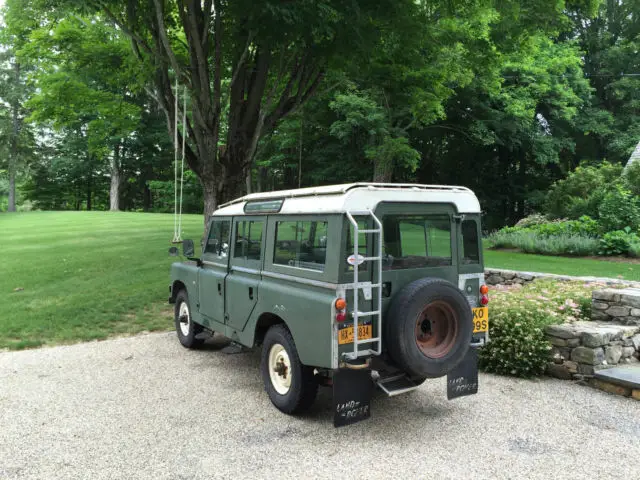
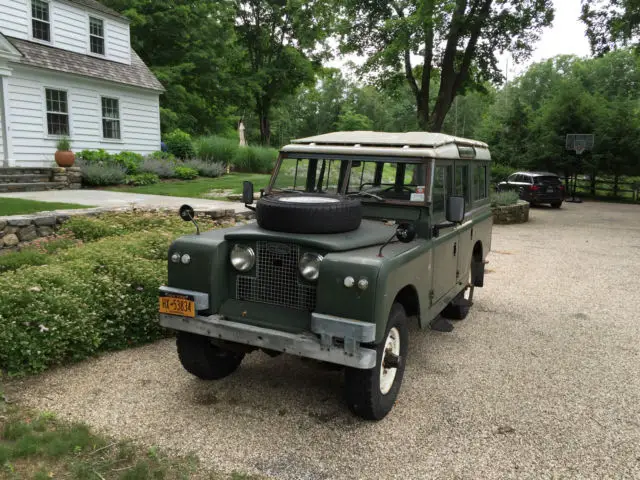
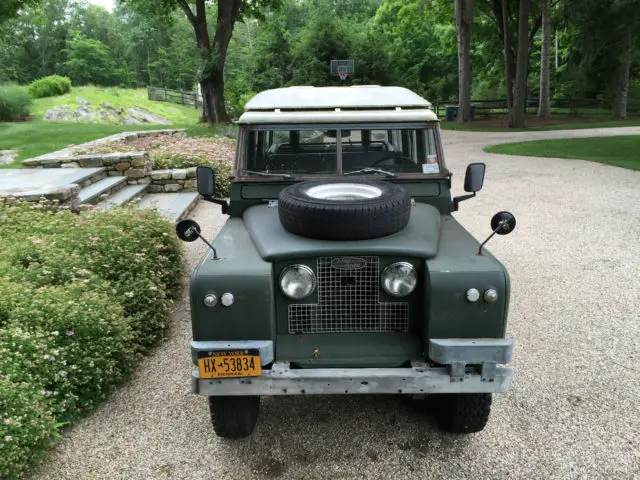


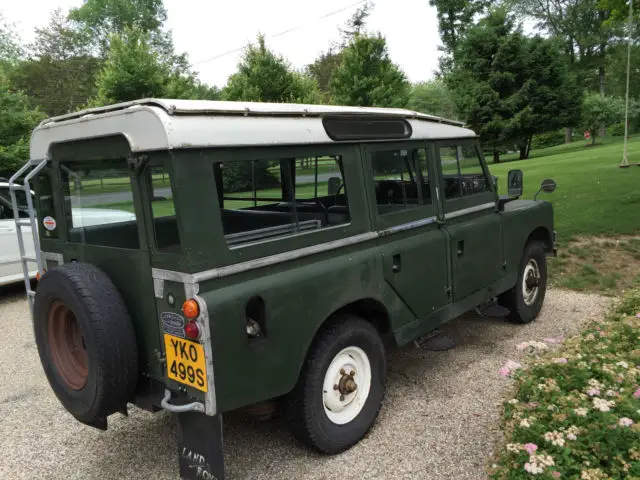
1962 Land Rover Series IIA Station Wagon
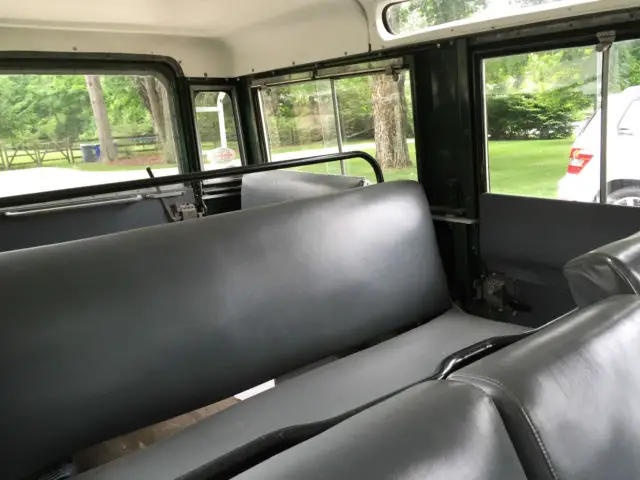
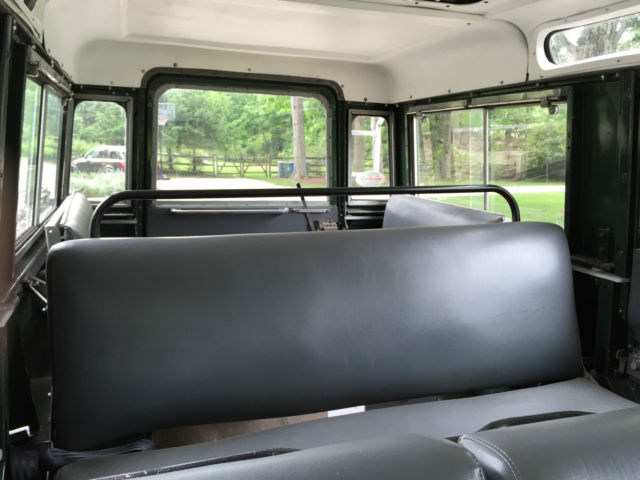
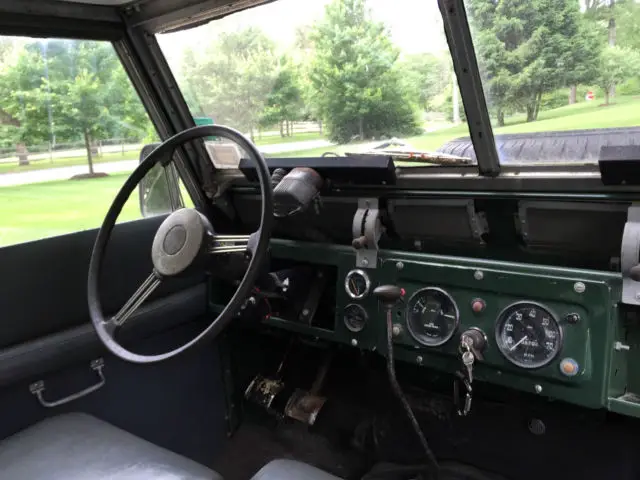
Overall in good condition, can be a daily driver. Body is in good condition, only minor dings and scratches. All accessories work (i.e. lights, blinkers, horn). 4 new tires, and two spare tires, one mounted at rear, the second on the hood. Engine runs well -- starts right up -- and transmission is fine. 4WD (high and low) work fine as does overdrive for highway use. Speedometer and fuel gauge are a bit inaccurate and should be repaired. Bought vehicle in 2010 and had extensive mechanical work performed to make it a "reliable" driver. Interior is in good condition, upholstery is fine. INstalled seat belts (lap belts) and modified front seat to accommodate taller drivers. Happy to provide details of work performed when I bought it (work performed by D.A.P. Enterprises in Vermont -- old Rover experts). On Sep-01-16 at 07:34:57 PDT, seller added the following information:Below is a list of the work performed in 2010/11 when I bought the Rover. Work was done by D.E.P. Enterprises, well known old Rover specialists.
● Diagnose starting issue; charge battery, replace corroded battery cable end, test starter voltage draw,(excessive).
● Replace starter motor.
● Remove spark plugs, perform compression test
● After engine start up and subsequent test running, carburetor started leaking gasoline onto exhaust manifold. (Chevy carburetor has been adapted to engine). Obtain carburetor re-build kit, remove unit, clean and overhaul. Re-install on engine and test run. (ok)
● Remove roof rack and bumper mounted auxiliary lighting
● Tighten clamps on radiator hoses,(leaking while engine was running)
● Install choke cable and adjust
● Remove oil fill tube and install new gaskets to correct oil leak
● Remove fuel pump and mounting plate and install new gaskets to correct oil leak
● Fabricate adapter to attach air cleaner hose to carburetor (hose was not attached to carb at all)
● Re-route and secure loose wires in engine compartment
● Secure exhaust system, install clamps and hangers as needed
● Remove generator and homemade mounting brackets that were welded to generator housing
● Install alternator bracket, provide Delco alternator and modify wiring to accommodate alternator unit (Unable to use alternator found in vehicle as it required special plugs and unit was not identifiable)
● Remove driver's seat and seat frame. Modify seat tracks, fabricate seat mounting brackets to allow seat to be moved rearwards beyond normal range. Fabricate and weld rear seat support cross brace. Prime and paint all fabricated parts. Re-install seat in new position.
● Remove front bumper and install correct bolts
● Repair kinked fuel line at rear fuel tank
● Unbolt transfer case from chassis, heat and straighten transmission cross member to prevent transfer case from rubbing on frame. Re-weld break in cross member. prime and paint affected areas.
● Install new engine and transmission mounts.
● Remove front brake drums and hubs. Front end has been apart and was not assembled properly, several parts were missing from front end.
● Replace badly worn front wheel bearings, install missing hub lock nuts and lock tabs.
● Replace front brake shoes (unsafe. Linings coming loose on shoe)
● Replace leaking LF brake flex line
● Install new hub oil seals, gaskets and lockers
● Remove LF swivel housing top cap, install correct shims to unbind steering, adjust to factory specifications.
● Check RH swivel housing for excessive play. Adjust swivel pre-load to factory specifications
● Re-assemble front end
● Remove front and rear drive shafts and install correct driveshaft mounting bolts
● Install front pinion seal
● Remove front axle assemblies
● Remove front differential and install new gaskets and seals
● Remove rear brake drums and hubs, clean brake shoes of gear oil, replace hub oil seals and gaskets
● Replace badly worn rear wheel bearings and races
● Re-assemble rear hubs and brakes
● Check all drive train fluids, fill as needed
● Order and install 4 new tires. Use best of existing tires for spares (2)
● Replace rear shock absorbers
● Drain transfer case, replace transfer case pan gasket and crush washer, re-fill with new oil
● Go over entire vehicle, tightening loose nuts and bolts, replacing missing bolts, screws and hardware as required.
● Install missing bolts in brake pedal assembly
● Adjust all doors to close correctly. Adjust striker plates, shim strikers and hinges as necessary.
● Install seat belts for middle seat
● Fabricate and install patch for several holes in intermediate rear floor.
● Paint, seal and undercoat repaired area
● Adjust floor board and install sealer
● Replace shifter boot
● Secure rear ladder
● Install cotter pins on clutch linkage
● Bleed entire brake system
● Remove broken windshield and replace with good used glass
● Replace missing retainer clip on distributor (cap hold down clamp)
● Adjust and lubricate clutch master cylinder rod
● Repair wiring for directional lamps
● Replace directional flasher unit
● Install heater air inlet hose (missing)
● Fabricate inner fender splash shiel, install shield and seal (shield missing)
● Replace burned out bulbs in license plate lamp
● Fuel gauge inoperative. Positive ground dash gauge and sender in fuel tank.
● Remove positive ground tank sender and replace with correct unit (Vehicle had previously been converted to negative ground electrical system)
● Remove dash cluster, modify and install negative ground fuel gauge to fit instrument cluster.
● Wire and install voltage limiter for fuel gauge
● Repair heater switch
● Repair wiring "mess" behind instrument panel (many splices and taped together wires,)
● Road test
● Remove non-working oil pressure gauge from dash panel.
● Install new water temperature gauge
● Remove fittings from cylinder head for old temperature gauge.
● Install threaded adapters for temporary sending unit into cylinder head
● Run wiring to new gauge unit and test operation
● Connect instrument lights to new gauge
● Re-wire headlights to work in unison
● Speedometer cable broken, install new cable
● Partially remove roof headliner to locate water leak
● Water test roof
● Remove complete headliner
● Remove 4 roof vents, install gaskets and re-install vent assemblies correctly
● Strip all weather-stripping from roof and top of windscreen.(existing pieces either not correct part or installed improperly).
● Install correct factory weather-stripping as needed
● Replace several sections of w/s around various doors
● Re-position B-pillar posts
● Re-adjust doors due to B-pillar re-alignment
● Wire brush and clean drip rail around entire roof (rail has multiple cracks and holes) Re-seal with silicone type sealer.
● Align new weatherstrips, re-install roof and align to match with side panels and B-pillars.
● Adjust windshield angle to match roof seam
● Install roof using correct amount of bolts to tighten roof evenly to roof sides
● Re-install headliner
● Re-install roof rack and ladder
● Install grommet in steering column securing clamp. Tighten loose bolts in clamp.
● Road test 70 miles
● Calibrate fuel tank sending unit
● Re-adjust brakes
- Make: Land Rover
- Model: Series IIA Station Wagon
- Year: 1962
- Mileage: n/a
- VIN: 26401151AB
- Color: Green
- Number of cylinders: 4
- Fuel: Gasoline
- Transmission: Manual
- Drive type: 4WD
- Interior color: Gray
- Options: 4-Wheel Drive
- Vehicle Title: Clear Want to buy? Contact seller!